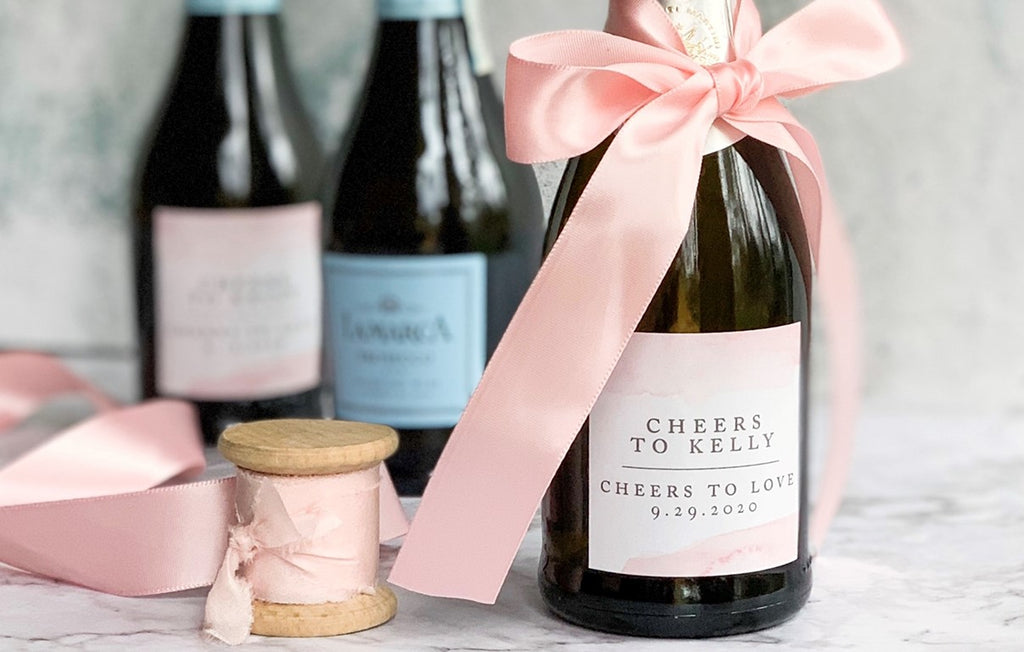
Know someone who got engaged recently? Time to pop the bubbly! Bonus points if it's custom-labeled!
Labeling a bottle is both harder and easier than it looks.
Let's start with the hard part: getting the right size label. It's crucial and high stakes. If you order the wrong size label, it's gonna be pretty tough to salvage the project. Luckily, there is an easy fix to finding the right size. All it takes is the bottle itself, a slip of paper, scissors, and a ruler (tape measurers will work!). Eyeballing the bottle, cut the slip of paper to the sizes you're considering for the label and hold it up to the bottle to see what fits. If the piece of paper doesn't fit, puckers, or doesn't lay flat, neither will the label! This simple fix is so low tech, but it really helps visualize fit when you don't have the labels in hand.
Most full size bottles will need around a 3.75 by 4 inch label. Mini champs usually take a 2 inch square or 2 by 3.5 inch label. But bottles come in all shapes and sizes, and I really encourage measuring before ordering. And if you're planning to dunk these in ice, definitely go for the vinyl upgrade! The standard glossy can withstand refrigeration and condensation, but will start to peel if fully submerged. The vinyl, though, will hold up to even a run through the dishwasher! That stuff is amazingly tough!

Once you have the labels, it's time to prep the bottles. I do recommend removing the existing label. If you don't, the shape of the original label can show through, which isn't ideal. (I will admit, though, when in a rush, I have skipped this step.) Most labels will come off with a little soap, water and scrubbing. If you have a stubborn label, soaking it for 1-2 hours will definitely loosen things up. Be sure to fully dry the bottle before the next step.
Now for the easy part! It's simply: peel, stick, done! If you have bubbles or puckers on the label, simply run your fingertips over the label until they smooth out. For a finishing touch, add a matching ribbon if that's the look you're going for.
This measuring method isn't just for bottles! It can work for any surface you're wanting to label. While a slip of paper will do, I've also created a sizing guide printable of my most common sizes that you can use. Simply print out the document (be sure to select 'Scale: 100%' or 'Actual Size'), cut out the size label you're considering and lay it against the surface of the bag, box, basket, or bottle you're labeling.

Finding the right size label is crucial! Castleberry Hill is here to help!!

